Home User-user support

Download the Remmie App

Remmie App iOS

Remmie App Android


Tips for usage

  • Small kids can get nervous for ear checking. We suggest you hold the small kids stable or have someone to stabilize the kid while using our product.

  • Small kids are curious and tend to turn their heads to look at your phone screen. Use the phone screen as a good tool to attract their attention and stabilize their head before using the product. 

  • Straighten the ear canal by gently pulling the ear lobe back. Move your otoscope gently and hold straight, proceed slowly to avoid touching the ear canal walls and the eardrum. Never push the specula tips into the ear canal. Always go slow and stop at any sign of sensitivity. You will find video resources and user manuals in the Remmie App to understand and use our device. 

  • Before you connect with Remmie Otoscope, we recommend you to 1) go to your Wi-Fi Settings and Forget the home/office wifi Network which your phone automatically connects with 2) go to your screen Auto-Lock Settings and set Auto-Lock to Never (for iOS device). Your default wifi connection can interfere with the Otoscope wifi signal and result in a discontinuous live stream. The auto-lock setting will also stop the connection between the Otoscope and your phone. To temporarily disable these two functions will help better usage of the Otoscope live stream function.

  • User support can be reached by scheduling with our team.

User Manual

User Manual 1
User Manual 2

A. General Information

1) Intended Use

Your Remmie monitor is an otoscope. An otoscope is a device intended to allow inspection of the external ear canal and tympanic membrane (eardrum) under magnification. The device provides illumination of the ear canal for observation by using a battery-powered LED light source and an optical magnifying and imaging system. Included in the package are the monitor, 5x disposable specula, charging base, charging cable, power adapter, and alcohol wipes.

Please read the manual carefully for proper operation. Improper or faulty operation may cause the device to malfunction or harm to the user.

Children under the age of 18 should not be permitted to use the device without supervision of an adult. This device should only be used on children younger than 2 years of age with professional advisory.

2) Important Safety Information

The disposable speculum must be used and locked in place by twisting it against the groove over the metal probe. The otoscope can be used as directed by a healthcare provider for illuminating and visualizing the ear, nose, throat (ENT) and teeth. It should never reach or touch the object being monitored, for example, the eardrum.

In order to get the best image quality, please handle with care and disinfect the otoscope thoroughly using alcohol wipes. Do not clean with hot water higher than 122 oF, otherwise the camera lens may be damaged.

3) Product Application

This product is applicable to ordinary household ENT self-check and sharing symptoms for telemedicine consultations. For home use, it helps users with preliminary observations of symptoms as directed by a healthcare provider related to but not limited to: ear infection,common cold, flu, sinusitis, allergy, pharyngitis, strep throat, sore throat, pink eye, hand-foot-mouth disease, and some toothache.

B. Usage Information

1) Download and Install the Mobile App

Search “Remmie” in Apple App Store or Google Play Store, download and install on your smartphone.

2) Register and Log in

Follow the instructions in the app to register. After Registering you will receive an email for verification. Click the link in this email and your registration process finishes. If you did not receive the verification email, make sure to look for it in the junk box.

You have to log in to use Remmie Dolphin and Remmie services.

3) Two Modes

Remmie Dolphin can be used in two different modes depending on the Wi-Fi network configuration and your intended usage. RemmieOn mode is fast and easy and it is our recommended way for using Dolphin. Local Mode is used to set up Dolphin for RemmieOn Mode when it is new out of the box. Local Mode is not recommended after the one-time configuration unless you don’t have a stably working Wi-Fi network.

4) First Time Configuration

For a new device out of the box, we need to do a configuration first before normal usage.

  • Step 0. Fully charge Dolphin.
  • Step 1. Log in to the Remmie app. Now you are the the main page of Remmie.
  • Step 2. Press and hold the power button and photo capture button together for at least 10 seconds until the LED starts flashing.
  • Step 3. Go to the Wi-Fi Settings page of your phone (in the Settings app), find the Wi-Fi network starting with “Otoscope”, connect to it, using the password 12345678.
    Hints
    1. Make sure to do Step 3 within 1 minute from turning on Dolphin. If Dolphin is idle for more than 1 minute, it will go to sleep mode.
    2. If you do not see the Wi-Fi network starting with “Otoscope”, simply restart Dolphin (step 2) and retry.
  • Step 4. Go back to the Remmie app. Click on “Tap to Live Stream”. Follow the prompt message to input your home Wi-Fi network name (SSID) and password. Save.
  • Step 5. Restart Dolphin by pushing the power button for 1-2 seconds until the LED light is off, then pushing the power button again for 1-2 seconds (this time you do NOT need to hold and press the two buttons as described in step 2.
    Now your Dolphin is configured as a member of your home Wi-Fi network and you are ready to experience RemmieOn!

5) Live Stream with the RemmieOn Technology

After the one time configuration is finished, you can use our RemmieOn technology to stream video from Dolphin’s camera. RemmieOn enables your phone stay connected with the Internet while communicating with Dolphin at the same time.

Turn on Dolphin by pressing the power button 1 to 2 seconds. Wait until the LED light starts flashing. At the main page, Click on “Tap to Live Stream” and follow the prompt messages, you should enter the live stream page and see the video streamed from Dolphin.

By clicking the middle button of Dolphin, i.e., LED control button (Figure 5), you can adjust the LED light brightness from 4 stages: Off, dim, medium, bright.

Hint: If there is any disruption of the video streaming, the app will always try to recover. In very rare cases, if the streaming is very intermittent and can’t be recovered, try to quit the live stream by clicking “Quit” and enter again. If this does not fix the problem, restart both the app and Dolphin.

6) Take Image and Video records

During the live stream session, you can click on the “Record” and “Capture” button in the live stream session to record video clips or images.

Try using the Capture button at the top part of the Dolphin device (Figure 5). By pressing this button, you can also capture images. This button is handy when your hands are occupied like hold a child, holding Dolphin, and can’t operate on the phone screen.

7) Edit and Save Records

Click on any captured image or video record, you enter the edit page. Click “Edit”, you can add any notes.

Under “Symptoms”, click the “+ Add” button, a list of common symptoms is shown. Choose the ones relevant to you, and at the end of the list, you can manually add your own customized symptom descriptions. Click “Save”.

After saving the symptoms you are back to the screen of Figure 8. Click “Save”, and your image/video clip is saved, together with notes and symptoms you added. The records are saved both on your phone storage (the “photos” folder for both IOS and Android) and Remmie Cloud Database.

You can also share what you captured to emails, messages, social networks, etc. from the share button at the upper right corner.

8) View Records

At the main page, click “View Records”, all past records can be viewed under either List or Calendar view. You can choose any image to edit or delete.

9) Talk to a Doctor

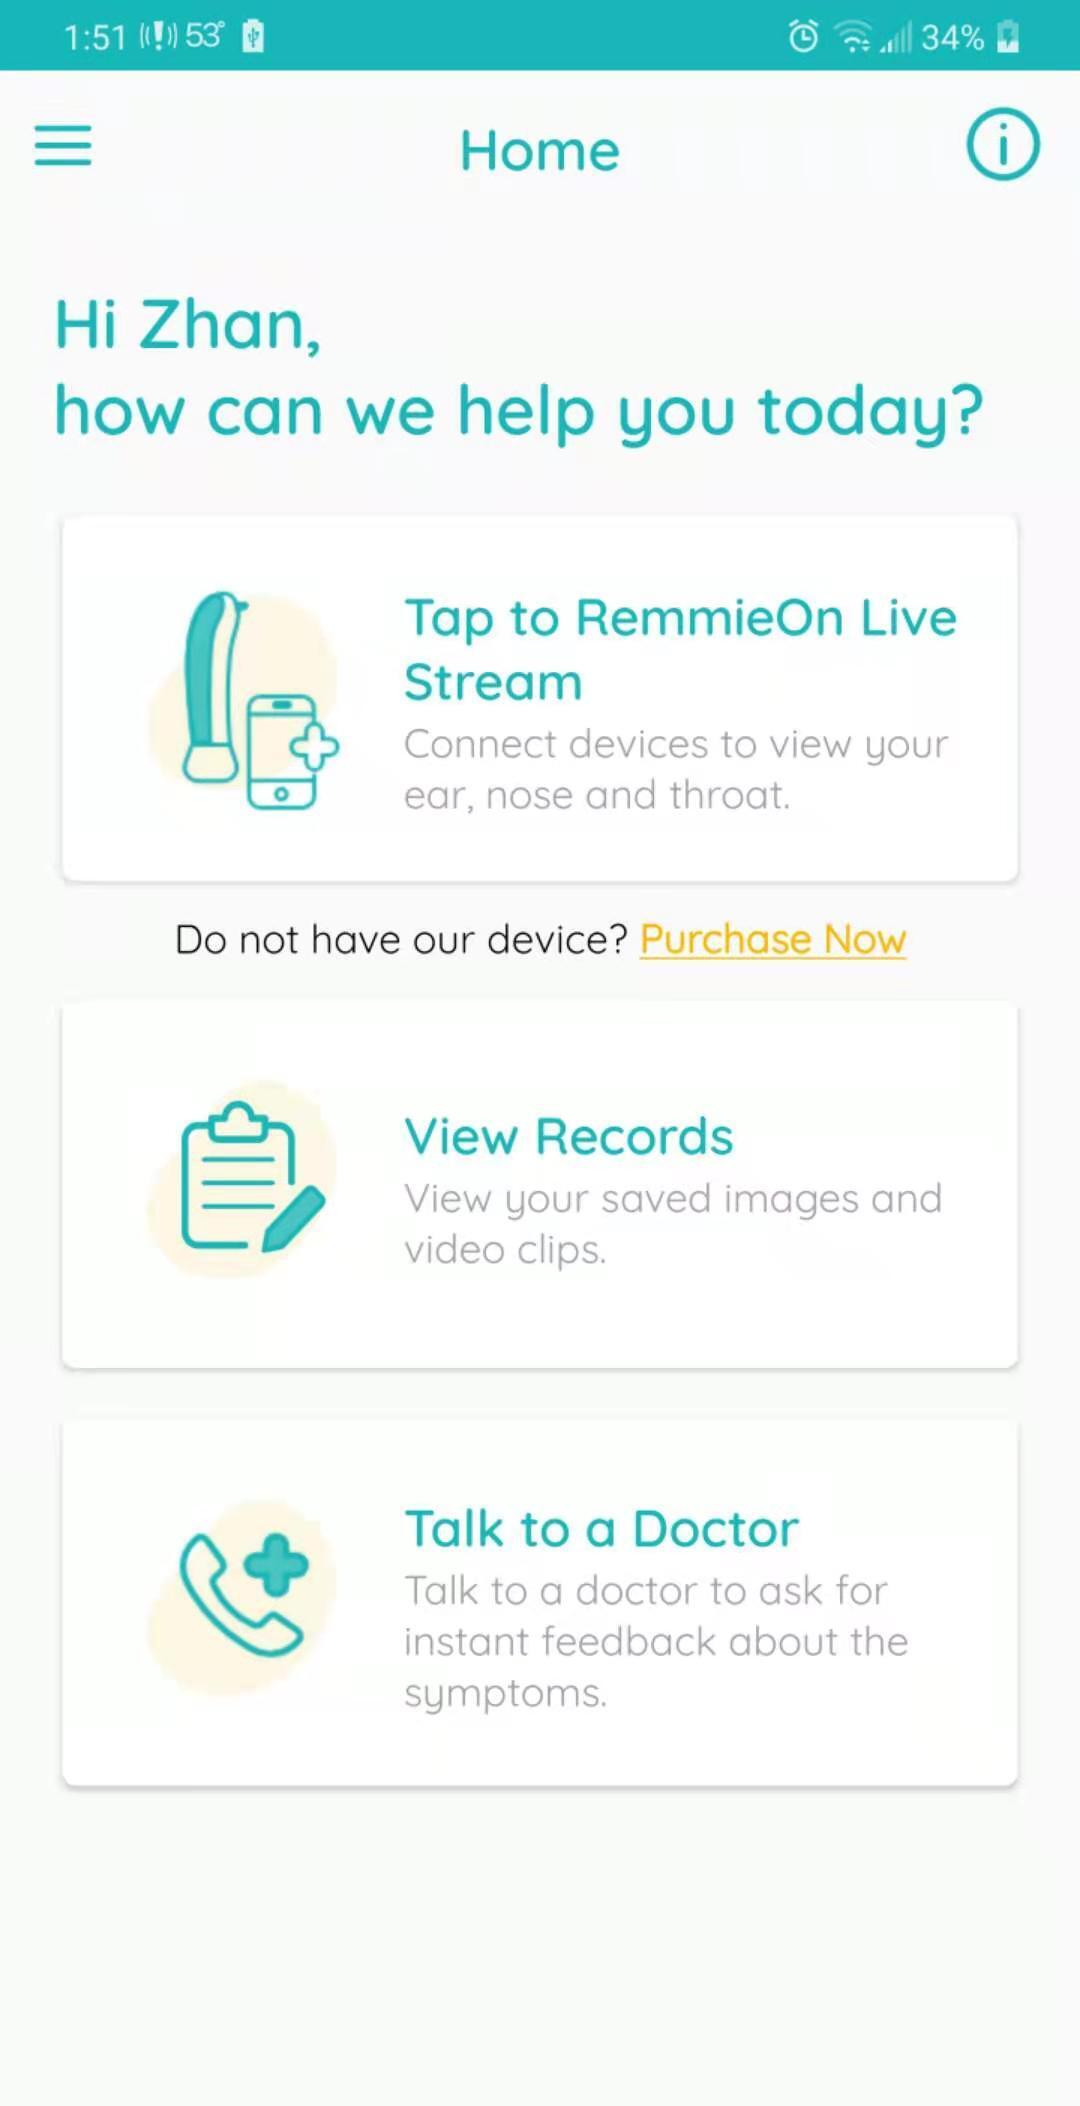
At the main page, click “Talk to a Doctor”, you enter a list of telemedicine service providers. Choose one based on your needs - pay by each visit, or monthly plan, etc.

Please note Remmie does not charge any fee for telemedicine services. Remmie is just an entry point for these partners. And you are encouraged to use Remmie during the telemedicine sessions.

For any telemedicine service in the list, you need to install the corresponding mobile app first: CareClix for CareClix, PM Pediatrics Anywhere for PM Pediatrics, and AccessADoctor for MyTelemedicine.

For CareClix, if you do not have a CareClix account yet, the first time logging in, you will be asked to provide a list of information to register a CareClix account. From the second time use, you will be automatically logged in CareClix without enter user name and password.

For MyTelemedicine, if you do not have an account yet, you need to register an AccessADoctor account and choose a monthly plan.

For IOS users, there is also an option of using Zoom for a video meeting with a doctor. You have to make an appointment with the doctor first.

10) Menu Bar

At the upper left corner of the main page, click the “three short line” icon, the menu bar will pop out. Here is instruction for some functions in the menu.

11) Connection and Video Streaming under Local Mode

Under Local Mode, you can also do video streaming. Local Mode does not need the RemmieOn configuration in Section B-4). The smart phone is directly connected with the otoscope. However under Local Mode, your phone will not have Internet access.

If you do not have a Wi-Fi network available, or the Wi-Fi network requires you signing in which is not supported in the RemmieOn configuration, or you bought your device before May 1, 2021 (the first generation Remmie otoscope), you can use Local Mode for video streaming.

Follow the instructions in Section B-4 (Note for Remmie generation 1 otoscope that was sold before May 1, 2021, you only need to turn on the otoscope by pressing the Power Button for 1 to 2 seconds and wait until the LED light starts flashing). In Step 4, instead of go to RemmieOn configuration, click on “use Local Mode” to stream video.

12) Resetting RemmieOn Configuration

You may need to re-configure, or reset the RemmieOn conguration. For example, your home Wi-Fi name or password is changed, you moved to another Wi-Fi network environment, etc. The reset process is the same with first time configuration. Please refer to Section B-4.

C. Help Resources

1) Video Instructions

For step-by-step video instructions, please refer to our Youtube channel:

Channel Name: Remmie Health

Video instructions are also in the app. Go to Menu, then Help.

2) FAQ

3) Troubleshooting

Refer to: https://remmiehealth.com/pages/faq

In the App, go to Menu, then Help.

D. Cleaning and Maintenance

Avoid exposure, direct contact with oil or corrosive liquids. Do not submerge in water. Clean with alcohol wipes.

E. Warnings

Ear wax could obscure the camera view. Never use a cotton swab to clear the ear wax. Follow directions from a healthcare provider in case of obscured view. Do not use when there is open wound or effluent from the bodily cavities. Inserting too deep could cause injury to the body tissue. Use only the lowest illumination necessary and for no more than 2 minutes. Longer or brighter illumination could cause overheating and injury to the body tissue. Never look directly into the LED light.

F. Warranty

Remmie offers a one (1) year warranty on the Device, pursuant to which Remmie warrants that the Device will materially conform to its specifications as provided to you in writing upon occurrence of the Transaction and that it will be free of material defects in materials and workmanship. If a Device is determined by Remmie to be defective during a 12-month period following completion of the Transaction (the “Warranty Period”), Remmie shall, as its option, repair or replace the Device free of charge to you. In the event Remmie cannot repair or replace a Device determined to be defective during the Warranty Period, Remmie will refund the amount of the original purchase price (plus any applicable taxes) upon receipt of proof of purchase.

To exercise the above-stated warranty, you must submit a warranty claim by email to Remmie, Inc. at contact@remmiehealth.com during the Warranty Period and within ten (10) days following the discovery of the defect. In addition, the Device must be returned to Remmie in accordance with the instructions provided at the time the claim is made.

This warranty is subject to the following limitations :

  • This warranty is valid only if the sticker on the package is present indicating the serial number and manufacturing details.
  • Remmie is not responsible for damage arising from failure to follow instructions relating to the use of the Device.
  • User shall be responsible for proper usage, maintenance and handling of the Device.
  • No warranty is extended if the Device has been altered or modified in any way.
  • This warranty does not include problems or product malfunctions caused by the user’s acts (or failure to act), the acts of others, User’s non-compliance with these Terms or events beyond Remmie’s reasonable control.